If you're managing users between Atlassian and your identity provider (idP) you already know it gets messy fast. You're spending serious time creating accounts, updating permissions, and cleaning up access when people leave.
It's repetitive work that eats into your week – not to mention all the potential errors and security risks involved. Atlassian user provisioning automates some of this.
And it does help, but the name oversells what it actually does.
This guide breaks down how Atlassian provisioning works, what gets automated, what doesn't, and how to decide if it's the right setup for your team.
What is user provisioning in Atlassian?
User provisioning is an automated connection between your idP (like Azure AD, Okta, or Google Workspace) and your Atlassian organization.
It keeps user accounts synchronized between both systems using the System for Cross-domain Identity Management (SCIM) 2.0 protocol.
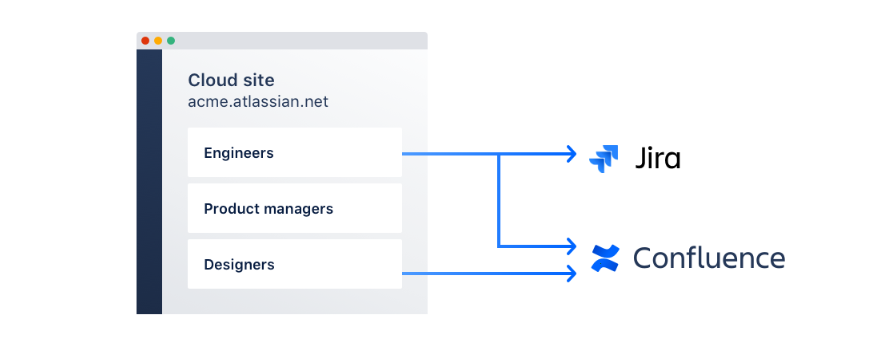
Let's say you add a new hire to Okta. User provisioning creates their Atlassian account in your organization, assigns them to groups, and gives them access to Atlassian apps like Jira and Confluence.
What you need for user provisioning in Atlassian
You need the following basics in place:
- Atlassian Guard Subscription
User provisioning requires an Atlassian Guard Standard or Premium subscription. The feature isn't available with basic Atlassian accounts.
- Identity Provider with SCIM 2.0 support
This is non-negotiable. Older directory systems might need updates or middleware to support SCIM.
- Admin Access
You need administrative rights in both your directory system and your Atlassian organization to configure the connection.
- API Access
Your directory needs to allow API connections for reading user and group data. Some organizations restrict this for security reasons.
- Network Connectivity
Atlassian needs to reach your directory over HTTPS. Check firewall rules and security policies.
You also need to setup your domain and identity provider:
- Verify one or more domains in your Atlassian organization
- Add an identity provider directory to your Atlassian cloud organization
- Link verified domains to your identity provider directory
How to configure user provisioning in Atlassian cloud
I recommend creating test accounts and groups in your identity provider before setting up user provisioning via SCIM.
This stops existing users from losing app access during setup. Use these test accounts and groups to check that everything works before rolling it out to real users.
Step 1 - Choose Your Identity Provider
The integration setup steps change depending on which identity provider you use. Atlassian cloud currently supports these major providers:
- Okta
- JumpCloud
- Auth0
- Microsoft Azure AD
- OneLogin
- Google Cloud and Google Workspace
- Ping Identity
- CyberArk Idaptive
If your provider isn't listed, you can build a custom connection via user provisioning API if the platform implements SAML 2.0.
Step 2 - Prep Your SCIM Configuration
Atlassian uses the System for Cross-domain Identity Management (SCIM) protocol version 2.0 for user provisioning. Follow these steps to get your SCIM access token:
- Login to Atlassian Administration
- Pick your organization if you manage multiple ones
- Choose Security > Identity providers
- Pick your Identity provider Directory
- Select Set up user provisioning
- Copy and store the SCIM base URL and API key values
- Record the API key expiration date
Important: Save the SCIM URL and API secret token right away in a safe place - Atlassian won't show them again after initial setup.
Note that Atlassian automatically sets SCIM API access tokens to expire after one year for new setups created since early January 2025. This policy doesn't affect existing keys you already have.
Step 3 - Link Your idP to your Atlassian cloud instance
Begin and complete this step in your identity provider's admin console. You'll enter the SCIM URL and API key you copied from Atlassian.
Each provider has its own specific setup process, like placing the directory base URL into the tenant URL in Azure AD's provisioning page. Refer to the following guides from Atlassian.
By the way, user provisioning identifies members by email address to either create new Atlassian organization accounts or link to existing ones.
Make sure the email address field matches exactly between your SAML SSO and SCIM provisioning mode to prevent duplicate account creation.
Step 4 - Add Sites to Your Atlassian Organization
You need to give provisioned users access to apps and resources after syncing them to your organization.
- Go to Atlassian Administration
- Pick your organization if you manage multiple ones
- Choose Apps
- Click Add app
- Pick the app you want to add
- Enter the site name (example: multiplier.atlassian.net)
Step 5 - Give Atlassian Access to Users and Groups
Set up Atlassian access for the groups containing your provisioned users.
- Go to the site you added (multiplier.atlassian.net)
- Go to App access and find the app where you want to assign the group
- Click Add group and pick the automatically-created group containing your synced accounts
- Click Add groups to complete the access setup
Atlassian Cloud User Provisioning Features
Now when you add someone to your directory, Atlassian automatically does the following:
Link existing users
If a user in your directory already has an Atlassian account, they'll be linked to your organization.
Create new accounts
A new Atlassian account will be created for users without an existing one.
Update user accounts
Changing the following user attributes in your idP will automatically update their Atlassian account:
- Display name
- Job title
- Organization
- Email address
- Department
- Timezone
- Preferred language
Account activation and deactivation
For sites with verified domains, you can activate/deactivate Atlassian user accounts straight from your idP.
They get removed from the SCIM-provisioned Atlassian group along with their app access.
Account Deletion
Simply delete user accounts from your identity provider, and their Atlassian account gets deleted as well.
All of these are automated – no manual intervention required from both your users and IT team.
There's a lot that doesn't get carried over, though.
Atlassian user provisioning doesn't capture stuff like these, so you need to do them manually:
- Individual permission assignments within specific Jira projects
- Granular permissions to Atlassian apps (Confluence spaces beyond group-level access)
- Custom field mappings that aren't part of standard user attributes
- Product-specific configurations like JSM agent assignments
You'll run into some pretty major syncing limitations too. For instance, you can't rename a group from your idP. You need to delete the existing Atlassian group, create a new one, then use the new name for that.
It all stems from how user provisioning data flows between Atlassian and your identity provider.
Atlassian user provisioning only goes one way
Here comes the big snag. With Atlassian user provisioning, data only flows one way: your identity provider → Atlassian.
Atlassian basically reflects whatever happens in your identity provider, but changes in Atlassian don't flow back.
Grant someone project admin access in Jira? Your IdP doesn't know. Add them to a confidential Confluence space? Not recorded.
If you're onboarding a new hire and create their Atlassian account first, you need to create their account in your idP separately.
You still end up doing a lot of provisioning work manually.
Provisioning users automatically from Atlassian to your identity provider
True user provisioning goes way beyond account creation and Atlassian app permissions.
It should sync data, create accounts, grant/revoke access, and other provisioning tasks from your IdP to Atlassian AND from Atlassian back to your IdP
syncs data both ways and allows provisioning from either direction. It goes way beyond account creation -
This is what tools like Multiplier enable. Data flows both ways:
Atlassian → IdP (Reverse Provisioning)
This is the opposite direction - changes made in Atlassian flow back to your identity provider. This is less common and requires specialized tools like Multiplier. You'd need this when you want to manage certain aspects of user access from within Atlassian itself, or when you need Atlassian-specific data (like project roles or space permissions) to sync back to your directory system.
Atlassian's SCIM provisioning gets users and groups synced up, but it leaves you hanging when it comes to actually automating access management. Your IT team still ends up doing tons of manual work.
Atlassian does offer several APIs, like the user provisioning REST API for unsupported providers, but it requires development work on your side.
Several issues include:
Minimal groups sync capabilities
They do carry over from your identity provider, but only as a read-only group in Atlassian cloud.
Want to rename a group that's already been synced to Atlassian? You're forced to delete the existing group and create a new one with the desired group name. You can't grant synced users access with custom permissions either.
And right now, group sync is only available for Confluence, Jira instances, and Trello. It's not available for Bitbucket users.
App Access Still Needs Manual Setup
You still have to manually figure out which groups get access to which apps. The system won't look at your identity provider rules and automatically give someone Jira or Confluence access. You're setting that up by hand for each site.
It gets worse when you need detailed permissions. Project access, space permissions, security schemes - none of that gets automated through SCIM. Site roles stay stuck at "Basic" and there's no API to change them.
So every single project in Jira and every space in Confluence? You're configuring those permissions manually.
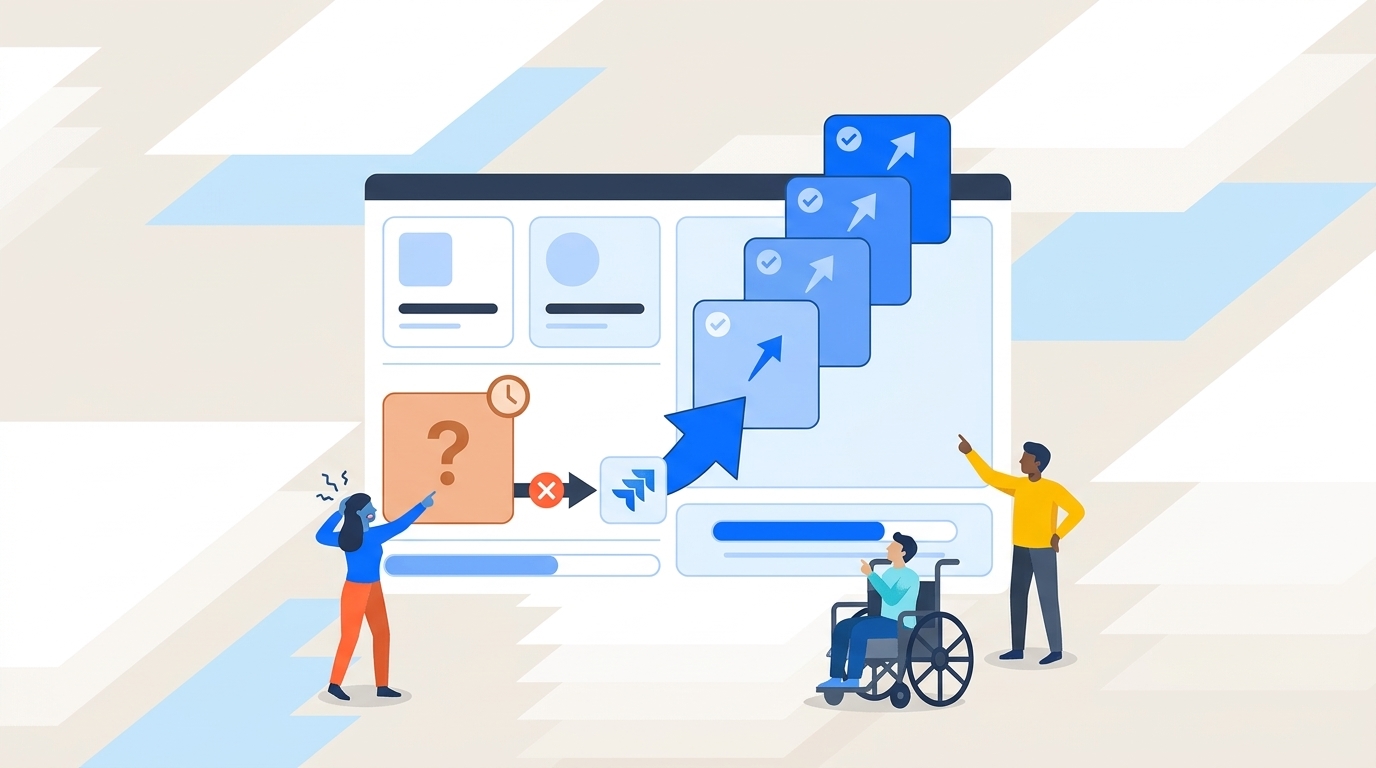
No Smart Lifecycle Management for User Accounts
Then there's the identity lifecycle management stuff that just doesn't exist. Atlassian cloud user provisioning doesn't give you approval workflows, access reviews, or temporary access that expires.
When someone needs special permissions across multiple products, your IT team handles it the old-fashioned way. Plus inactive user accounts and permissions just sit there unless you manually clean them up.
It all comes down to the one-way data flow between Atlassian and your identity provider. Changes from your identity provider sync to Atlassian, but anything you do inside Atlassian cloud stays there.
This creates blind spots in your identity management and makes Atlassian cloud a dead end for automating access decisions.
Adding the missing automation layer to user provisioning
For complete user provisioning automation, you'll need third-party IAM software. Multiplier is one such app for Jira Service Management, built specifically for the Atlassian ecosystem.
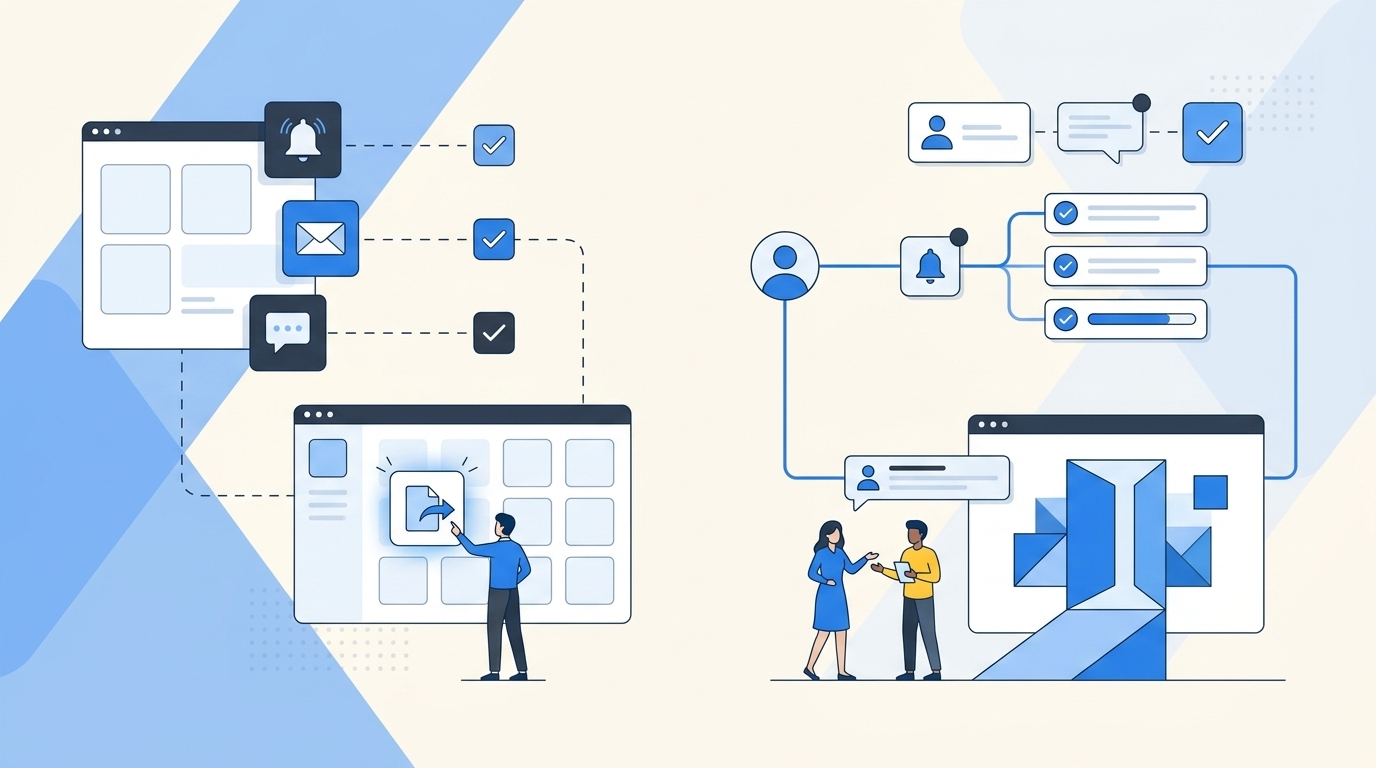
With Multiplier, your JSM tickets can trigger automated workflows like:
Intelligent Approval Routing
The tool automatically routes requests to the right people based on what's being requested. Access to financial systems goes to the CFO, engineering tools go to the engineering manager, all pulled from your identity provider's org chart.
Temporary Access Controls
Users can request time-limited access that automatically expires. Someone needs elevated permissions for a migration project and its resources, Multiplier grants access in both your IdP and Atlassian cloud, then automatically removes it after the specified time.
Complete Identity Lifecycle
Your identity provider handles hiring and termination workflows, but those changes don't automatically flow through to granular Atlassian permissions.
Multiplier completes this loop - new hire gets provisioned in your IdP, and Multiplier automatically sets up their Atlassian cloud project access based on their role and team assignment.
Compliance Documentation and Reporting
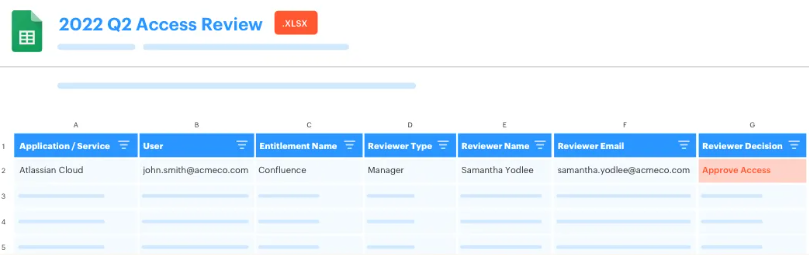
Since Multiplier sits inside in JSM, every access decision becomes a trackable ticket with full audit trails. Compliance teams can run reports showing exactly who requested what, when it was approved, and when access was removed - across all connected systems.
Start Automating Your Access Workflows Today
With Multiplier, Jira Service Management becomes a central hub for your identity governance and access management workflows.
The result is true zero-touch access management customized for your existing JSM setup. Book a demo to see how it works, or install it from Atlassian Marketplace for a free 14-day trial.